Table of Contents |
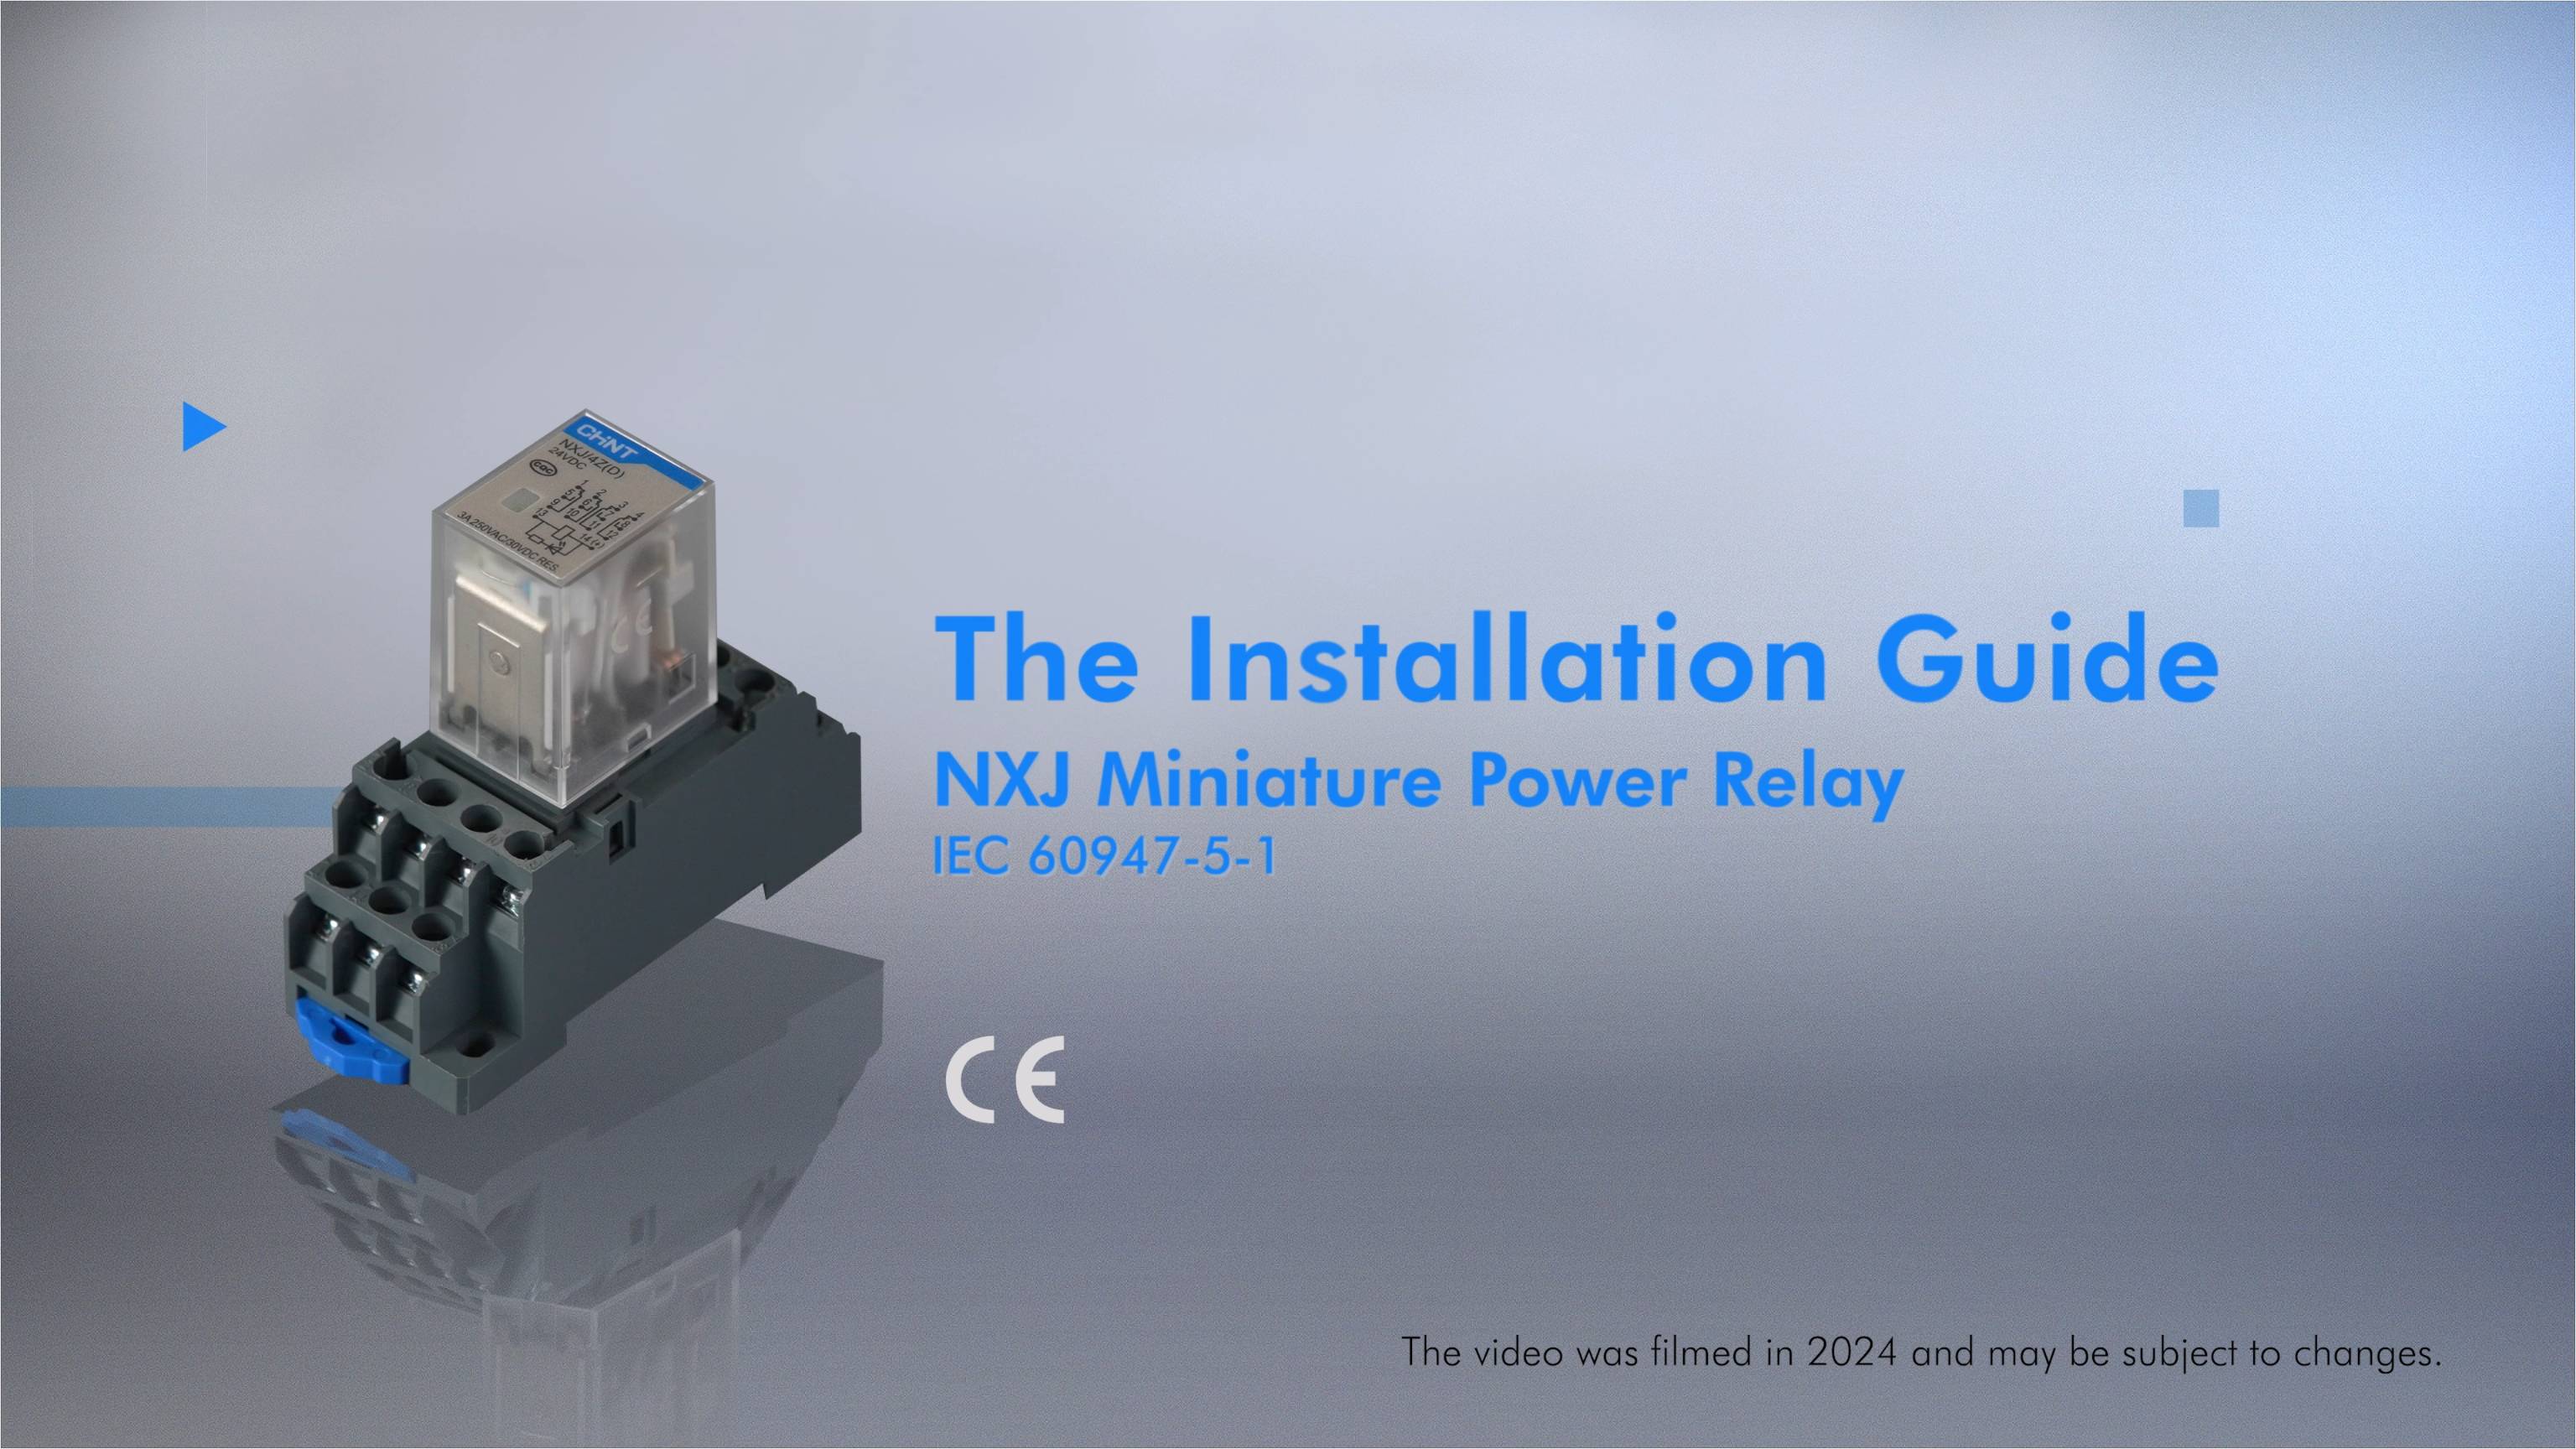
The NXJ Miniature Power Relay is a compact electrical switching device. It’s designed for precise control and signal transmission in various electrical systems. These miniature relays are engineered to provide reliable performance in industrial and commercial applications. This comprehensive guide offers an installation process. The aim is to help you ensure optimal functionality and longevity of your NXJ device.
Tools Required
Installing an NXJ Miniature Power Relay requires specific tools. Safety and precision should be a top priority. The necessary tools include:
- Wire strippers
- Crimping pliers
- Appropriately sized wires
- Wire lugs
- Screwdriver
- Multimeter
Installation Process
Proper installation ensures reliable NXJ Miniature Power Relay operation. It also helps prevent potential electrical issues. Follow these guidelines:
1. Socket Selection and Placement
Select a socket that matches your specific working conditions. Choose an easily accessible and well-ventilated installation location.
Also, make sure it’s away from potential moisture or extreme temperatures. Consider the electrical load, ambient temperature, and potential environmental stressors. These might impact miniature power relay performance.
2. Socket Installation
Align the upper end of the socket with the top edge of the rail. Press down firmly on the bottom to snap the socket into place securely. Ensure it sits flush and stable.
Double-check the alignment and apply gentle pressure to confirm a solid, vibration-resistant mounting.
If removal is necessary, use a flat-head screwdriver to pull down the stopper. Lift the bottom of the socket to detach it from the rail.
Then, tilt it forward at a slight angle for smooth removal. Always handle the miniature relay socket gently to prevent damage to the electrical contacts or mounting mechanism.
3. Wire Preparation
Strip the outer insulation of the copper wire, exposing 9 to 11 millimeters. This precise length ensures a reliable electrical connection without risking short circuits. Inspect the stripped wire carefully to ensure no stray wire strands could potentially cause electrical interference.
4. Wire Lug Crimping
Use crimping pliers to firmly attach wire lugs to the copper wire ends. Ensure a tight, secure connection that minimizes electrical resistance. Visually and physically inspect each crimp to confirm a uniform, compressed connection without any loose strands.
5. Terminal Wiring
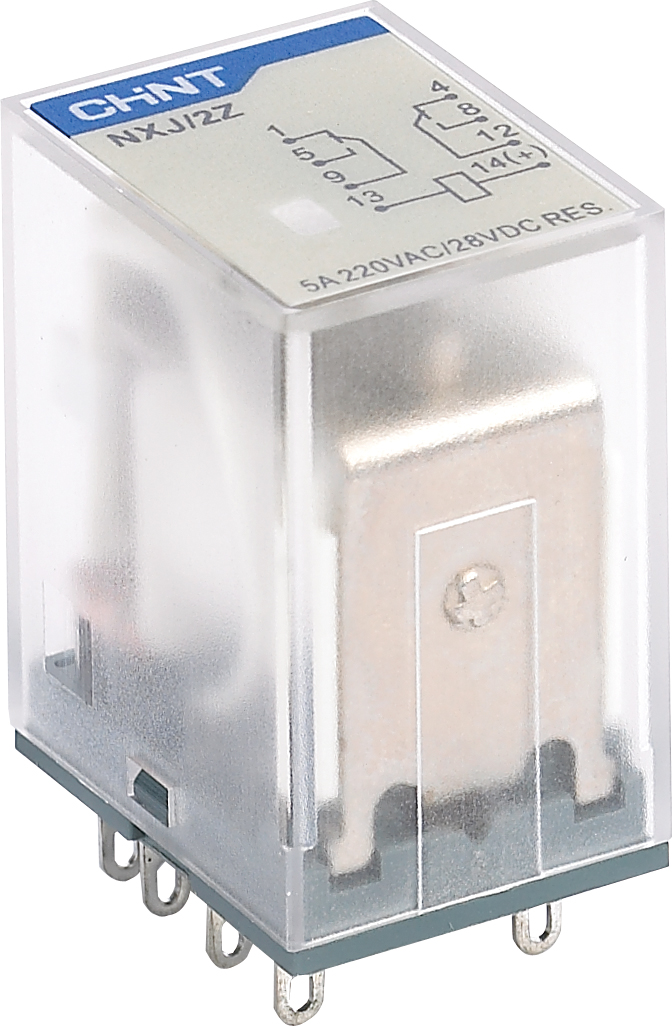
Wire the terminals into these four contact groups:
- Group 1: Contacts 1, 5, and 9
- Group 2: Contacts 2, 6, and 10
- Group 3: Contacts 3, 7, and 11
- Group 4: Contacts 4, 8, and 12
For miniature relays, contacts 13 and 14 are designated as coil terminals.
6. Relay Model Verification
Carefully verify that the NXJ Miniature Power Relay model precisely matches your predetermined working conditions. It prevents potential operational failures or safety risks.
7. Relay Installation
Vertically insert the miniature power relay into the socket hole of the RS-NXJ. For removal, simply pull it out vertically. Ensure the mini power relay is seated correctly, with no visible gaps or misalignment that could compromise electrical contact.
Testing the NXJ Miniature Power Relay
Testing is a critical step to verify the proper functionality of your newly installed mini power relay. Follow these guidelines:
1. Power and Indicator Check
When the power is off, the normal open contacts should be disconnected. Apply the rated control power voltage to the coil, which should activate the status indicator light. Observe the indicator carefully to confirm it illuminates consistently and without flickering.
2. Continuity Testing
Use a multimeter to test the continuity of the mini power relay with the normal open contacts. This confirms the relay’s operational status. Perform multiple tests to ensure consistent and reliable switching performance across different operational conditions.
Troubleshooting
Even with careful installation, occasional issues may arise. Refer to this table for troubleshooting common problems:
Symptom |
Cause |
Troubleshooting Method |
Relay Not Operating |
Loose terminal wire |
Tighten the terminal screw |
Incorrect voltage |
Replace relay specification |
|
Contact switching failure |
Replace product |
|
No Circuit Signal |
Loose contact terminal |
Tighten the terminal screw |
Relay malfunction |
Replace product |
|
Incompatible load conditions |
Replace relay specification |
Conclusion
Successfully installing an NXJ Miniature Power Relay requires careful systematic execution of each step. Make sure to follow this comprehensive guide. Select the right tools and prepare wires carefully. Also, test the relay’s functionality to ensure proper operation. Remember to always prioritize safety. Verify component compatibility and take your time during each installation phase. Should you encounter any challenges or need additional guidance, our dedicated team at CHINT stands ready to assist you.


-metalclad-AC-enclosed-switchgear-banner.png)
